Photography Tips for Festivals
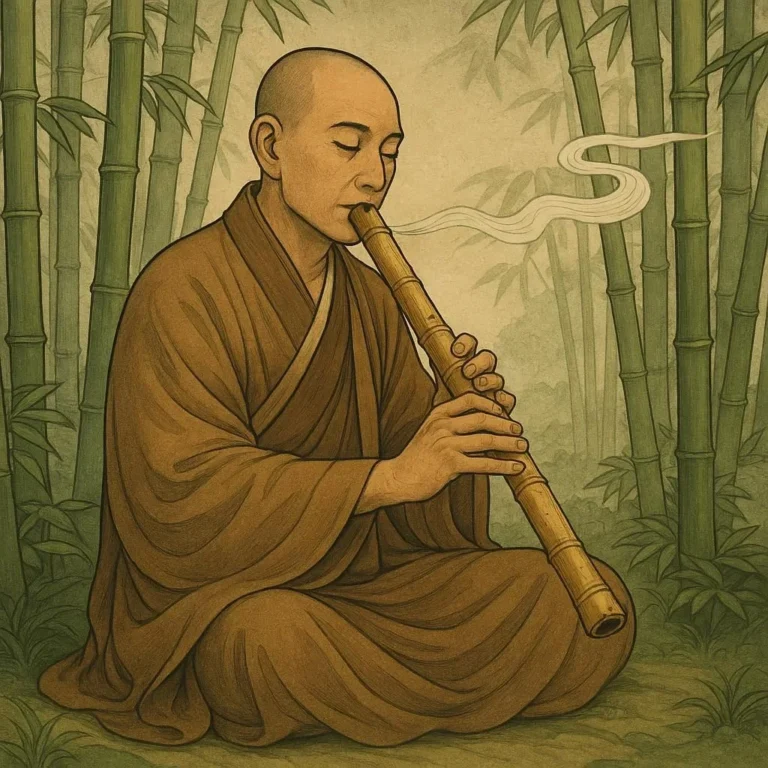
Japanese cultural events draw visitors from around the world, offering vibrant colors, rhythmic music, and moments of profound tradition. For the traveling photographer, the challenge lies in capturing those fleeting scenes while respecting the surrounding customs. This guide delivers practical Photography Tips that help you frame, shoot, and edit festival moments with confidence and creativity.
Choose the Right Gear for Rapid Motion
Most Japanese festivals feature dynamic processions, firework displays, and spontaneous performances. Your equipment must keep up with fast pacing and unpredictable lighting. Here are the core pieces you should carry:
- Camera body – Preferably a mirrorless system with a high‑frame‑rate mode; a full‑frame sensor handles low light admirably.
- Fast lenses – A prime 35mm or 50mm with a wide aperture (f/1.4–f/2) lets you shoot in evening or indoor settings.
- Wide‑angle kit – 14–24mm enhances architectural shots of temples or the cluster of stalls.
- Portable tripod or monopod – A lightweight tripod (e.g., Manfrotto Befree) stabilizes tripod‑shot fireworks.
- External flash or LED panel – External lighting can balance faces against colorful stage lights.
- Backup power – An extra battery pack and 32‑GB memory card keep the momentum going.
Don’t forget a small handheld gimbal like the DJI Osmo Mobile to capture fluid video segments without obvious camera shake, especially during calli‑dance performances.
Timing and Light: The “Golden Hour” of Festivals
While Japan’s festivals run all day, the best light often arrives just before sunset. The golden hour casts a subtle amber hue on kimonos and shrine torii, adding warmth to portraits and architecture. For fireworks, scout the optimal viewing spot early because the first burst can occur within minutes of the festival opening. Use the following shooting mode schedule as a baseline:
- 09:00–12:00 – Open market stalls; use a 50mm prime for clean, tight headshots of artisans.
- 12:00–14:00 – Midday jam; switch to a 24‑70mm for capturing a procession from multiple angles.
- 16:00–18:00 – Evening announcements; magnify subtle light with a wide‑angle lens.
- 18:30–20:00 – Fireworks begin; lower ISO, increase shutter speed, and use a tripod.
- 22:00+ – Scented incense and nighttime lanterns; bring a remote shutter release to avoid camera shake.
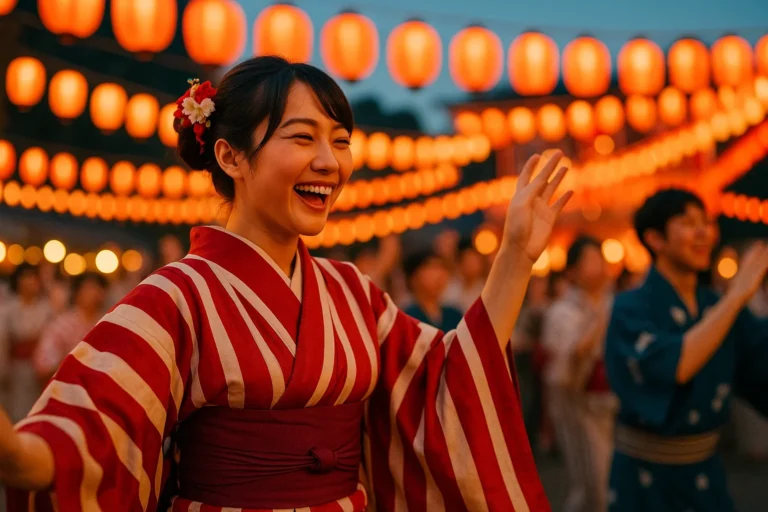
Remember that many festivals feature lantern releases at dusk. Capture that moment with a beautifully composed rule‑of‑thirds perspective: lanterns ascending in a single column above the shrine gate.
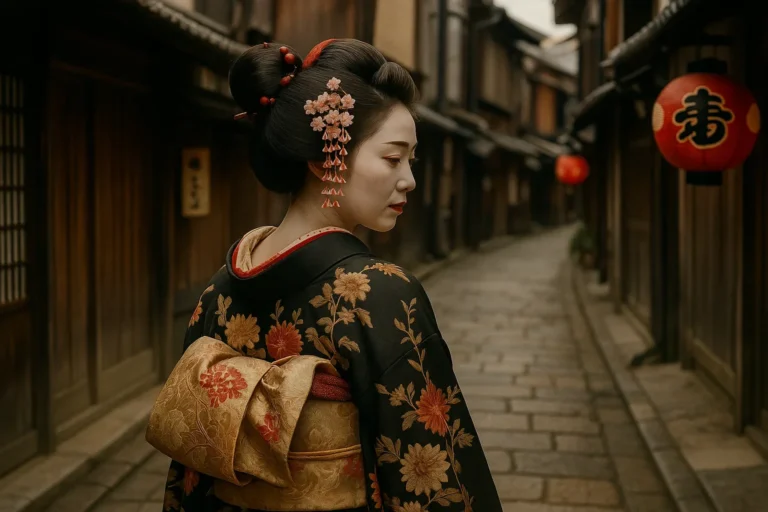
Engage With The Crowd: Cultural Etiquette & Composition
In Japan, respecting privacy during celebrations is paramount. Before photographing a group of festival-goers, glance for consent. If a photo feels culturally sensitive, err on the side of discretion. When you do receive permission, slightly lower your profile and match the participants’ posture—this renders a sense of participation rather than intrusiveness.
Composition techniques work wonders in festival contexts:
- Guide lines: Use carriage tracks or polished stone paths to direct the viewer toward festival activities.
- Leading elements: Position a bridge, archway, or driftwood as a framing device.
- Foreground interest: A stack of seasonal utsukushii (beautiful) paper lanterns adds depth.
- Symmetry: The twin torii lintel of Hachiman shrine often create striking symmetrical shots.
Employ a shutter speed of 1/250s or faster when capturing dancers, and a slower speed like 1/60s combined with a tripod for fireworks and night scenes.
Post‑Processing & Storytelling: Telling Your Festival Narrative
When you return from the festival, investment in post‑processing can bring your photos to life. Below are steps tailored for Japanese festival images:
- Adjust white balance: Use a custom white‑balance to enhance the warm glow of lanterns while preserving the bluish silhouettes of torii.
- Enhance contrast: Subtly increased contrast emphasizes the intricate patterns on kimono sleeves.
- Retouch crowded space: Slight vignette reduces distractions from busy stalls.
- Sharpen edges: Focus sharpening the subject’s eye, especially in portrait shots of elders.
- Preserve color grading: Keep saturated reds and yellows of festival banners natural; avoid over‑saturation that drains authenticity.
Consider creating a photo essay or a short slideshow that follows a timeline: from early morning market stalls, through a midday procession, to the climactic fireworks. Embed metadata tags like “Shinto shrine” or “Matsuri” in your file for digital cataloging.
Resources and Further Learning
To get deeper into festival photography, these authoritative references could help:
- Uniqueness of Japanese Festivals
- Japanese Government Cultural Events Overview
- Shutterstock Guide to Fireworks Photography
- Nichiba Photographic Society Tips
- University of the Arts London Photography Resources
Conclusion: Capture the Spirit, Share the Story
Japanese festivals offer more than scenery; they are living narratives of tradition, community, and art. Applying these Photography Tips—choosing the right gear, mastering light, engaging respectfully, crafting stories, and polishing in post‑production—will elevate your portfolio from mere snapshots to genuine cultural documentaries.
Ready to capture unforgettable moments? Book a guided festival photography tour with us today and immerse yourself in the rhythm of Japan’s most vibrant celebrations while mastering the art of visual storytelling.
Frequently Asked Questions
Q1. What is the best gear for festival photography?
A mirrorless camera with a high‑frame‑rate mode is ideal for capturing fast processions and spontaneous performances. Pair it with a 35mm or 50mm prime lens (f/1.4–f/2) to shoot in low‑light evenings, and keep a wide‑angle kit (14–24mm) on hand for architectural shots of shrines and stalls. A lightweight tripod or monopod and an external LED panel will stabilize and balance the dynamic colors, while a backup battery pack ensures you never miss a burst of fireworks.
Q2. How should I handle lighting during fireworks?
During fireworks, lower your ISO (400–800) and increase shutter speed (1/60 s – 1/200 s) to freeze the sparks. Mount the camera on a tripod to keep the scene sharp, and use a remote shutter release to avoid camera shake. If you prefer a handheld burst, a fast lens with a wide aperture will let you lock focus on the main display while gathering enough light.
Q3. What cultural etiquette should I follow when photographing festival‑goers?
Always ask for consent before shooting groups or individuals. If a participant is uncomfortable, err on the side of discretion. When you do get permission, match the organizers’ posture and lower your profile—this creates a respectful and inclusive image that celebrates the community instead of intruding.
Q4. How do I edit festival photos to capture the atmosphere?
Start by adjusting white balance to highlight the warm glow of lanterns without washing out the blue torii silhouettes. Increase contrast subtly to bring out kimono patterns, apply a soft vignette to pull focus to the center, and sharpen only the main subject’s eye to keep the street noise minimal. Preserve natural color saturation for banners and flags, and avoid over‑exposing the vibrant reds and yellows.
Q5. Can I use smartphones for festival photography?
Yes—modern smartphones handle fast motion and low light well when paired with a wide‑angle attachment for environmental shots. Use the night mode for lantern scenes, and stabilize the phone with a gimbal or tripod for smooth video of performances or fireworks.